
Google Analytics updated to Google Analytics 4 and with this update they are giving massive update to user tracking. Online Marketers can make the most of this update by being able to track much more information about the website visitor and a potential client.
Here, in this post, we are going to cover how to install or set-up Google Analytics 4 tracking on your website using GTM (Google Tag Manager).
If you are fond of reading, you can continue. Otherwise, you can choose to watch the in-depth video tutorial created for you.
Video Tutorial
Let’s start:
Step-by-step Tutorial
Step 1:
- Go to Google analytics and sign-in using your Google account.
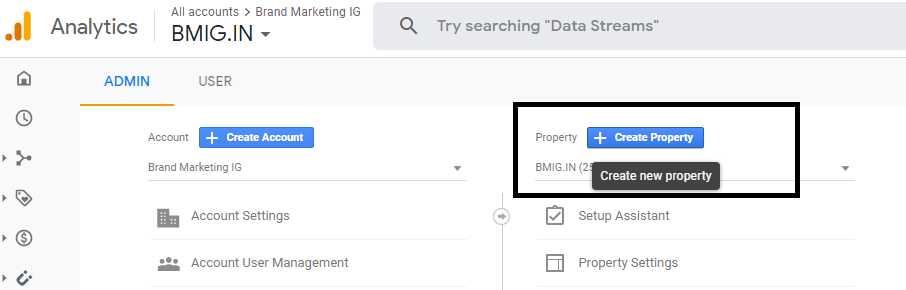
- On the left-hand side menu options, click on the admin button appearing at the bottom of your screen.
- After that, under property -> Click on create new property.
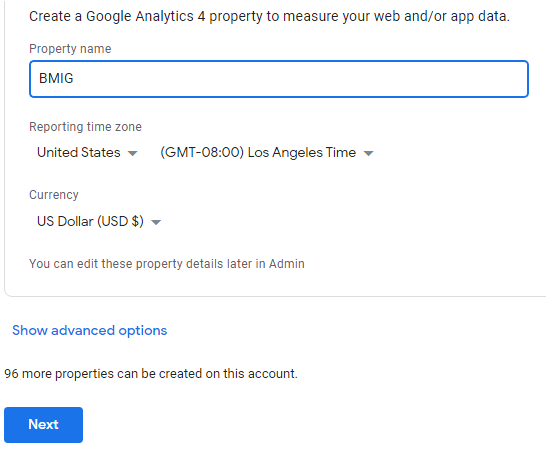
Step 2:
Fill the basic details as shown in the picture below. If you have any confusion at any step, watch this video tutorial for in-depth information.
Step 3: Set-up Data Stream
- In this step, you need to fill the website address so that a stream could be set-up where data is recorded.
- Enter the website address and the Stream name as shown in the picture below. You can enter the name of your choice. However, we recommend you to enter the name of your website so that it’s easy to recognize at a later stage.
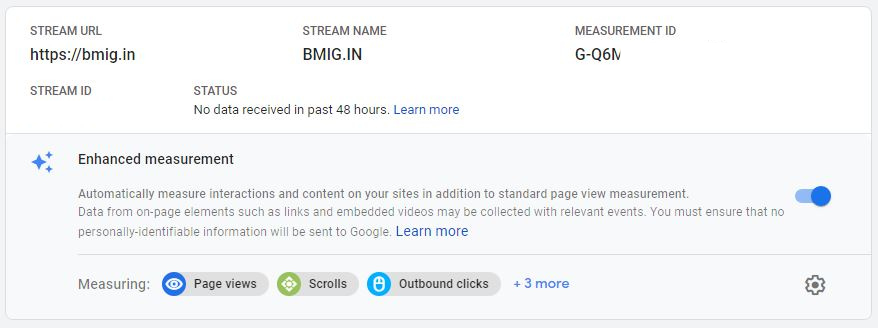
Copy the measurement ID and go to Google tag manager.
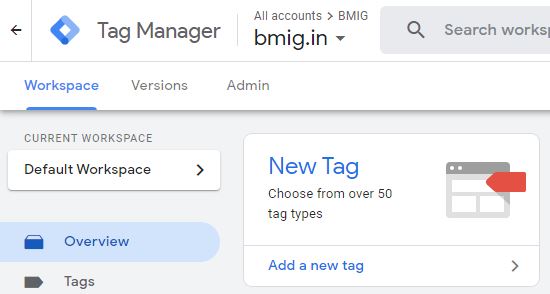
Step 4
In Google tag manager (GTM), you need to create a new tag. Click on the Add a new tag button as shown in the picture below
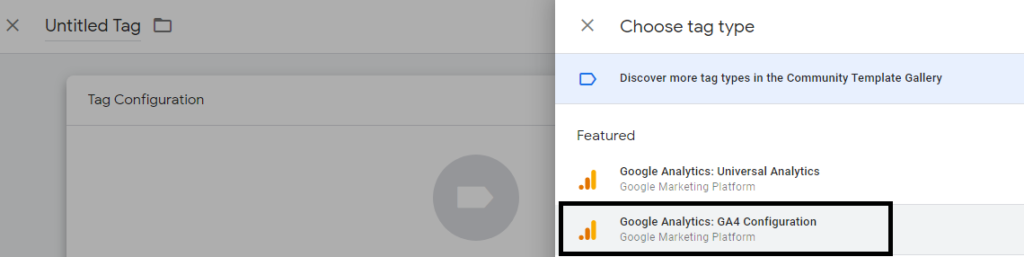
Step 5: Tag configuration
Now, in tag configuration, select GA 4 Property tag not the universal analytics property tag. Check the details in the image below:
- After this, enter the measurement ID copied from Google Analytics.
- Add a trigger, click on save and you are done.
Now, the Google analytics 4 tracking is set-up on your website. To test, go to REAL TIME Testing in google analytics.
REMEMBER one thing, you must add the GTM code to the head section of your website to start recording the data. Without it, you can’t see the data.
We hope you find this tutorial useful. If you have any doubt do let us know in comments section below. Connect with us on Instagram for latest updates.
| About the author | |
|---|---|
 |
Hi, my name is Rishabh Bansal and I’m the author of two books in Instagram marketing field. Also, I’m the founder of this digital marketing platform bmig and published various case studies on online customer behaviour. Besides this, I’m fond of traveling. You can find me on Instagram, Facebook and Twitter. |